Firebase + SwiftでChatアプリを作ってみます。[環境設定・認証なし]

Chat用のUIとしてJSQMessagesViewControllerを使用します。
iOSアプリの作成
Xcodeを開いて、Single View Applicationを作成しておきます。
Firebaseでアカウントの作成
下記サイトにアクセスし、「無料で開始」をクリックします。
https://firebase.google.com
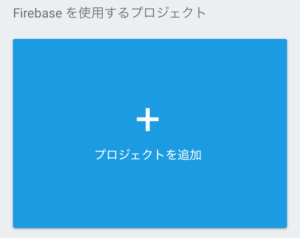
「プロジェクトを追加」をクリックします。
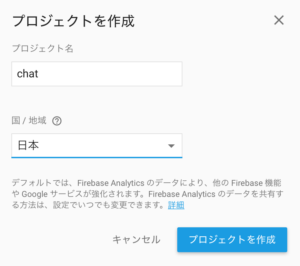
プロジェクト名をつけて「プロジェクトを作成」をクリックします。
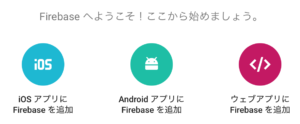
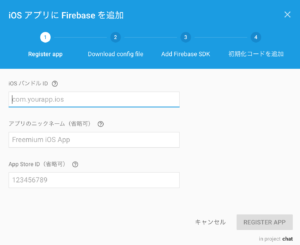
「iOSアプリにFirebaseを追加」をクリックします。
バンドルIDにはさきほど作成したSwiftアプリをセットし、「REGISTER APP」をクリックします。
「Download GoogleService-Info.plist」をクリックします。
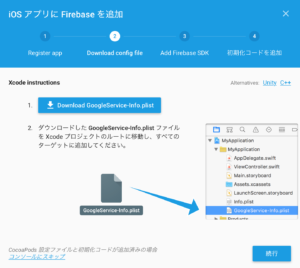
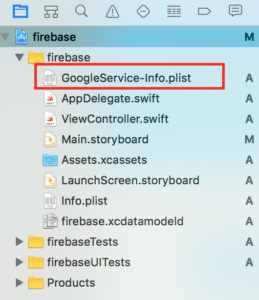
ダウンロードされたplistファイルをプロジェクトのルートに追加します。
CocoaPodsでライブラリーをインストール
プロジェクトのルートにPodfileを作成します。
|
1 |
$ pod init |
作成されたPodfileの中に下記を追加します。
|
1 2 3 4 |
# Pods for firebase # 追加したところ pod 'Firebase' pod 'Firebase/Database' |
サンプル例:
|
1 2 3 4 5 6 7 8 9 10 11 12 13 14 15 16 17 18 19 20 21 22 23 24 25 |
# Uncomment this line to define a global platform for your project # platform :ios, '9.0' target 'firebase' do # Comment this line if you're not using Swift and don't want to use dynamic frameworks use_frameworks! # Pods for firebase # 追加したところ pod 'Firebase' pod 'Firebase/Database' # チャットのUI用 pod 'JSQMessagesViewController' target 'firebaseTests' do inherit! :search_paths # Pods for testing end target 'firebaseUITests' do inherit! :search_paths # Pods for testing end end |
下記コマンドでプロジェクトにライブラリを追加します。
|
1 |
$ pod install |
コーディング
xxx.xcworkspaceを開きます。
AppDelegate.swift
|
1 2 3 4 5 6 7 8 9 10 11 12 13 14 15 16 17 |
import UIKit // 追加 import FirebaseCore @UIApplicationMain class AppDelegate: UIResponder, UIApplicationDelegate { var window: UIWindow? func application(_ application: UIApplication, didFinishLaunchingWithOptions launchOptions: [UIApplicationLaunchOptionsKey: Any]?) -> Bool { // Override point for customization after application launch. // 追加 FIRApp.configure() return true } ... } |
ViewController.swift
Firebase管理画面で作成したプロジェクトを選択
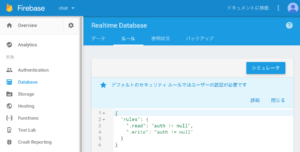
メニューのDatabse >ルールを選択
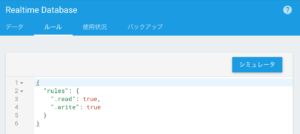
認証なしバージョン
|
1 2 3 4 5 6 7 8 |
{ "rules": { "messages": { ".read": true, ".write": true } } } |